> For the complete documentation index, see [llms.txt](https://help.inspiredtheme.com/articles/llms.txt). Markdown versions of documentation pages are available by appending `.md` to page URLs; this page is available as [Markdown](https://help.inspiredtheme.com/articles/faqs/how-to-enable-the-country-region-selector.md).
# How to enable the country/region selector?
***
A country/region selector is an essential feature for any global e-commerce store, allowing customers to choose their location to see localized information such as pricing, shipping options, and available products. This functionality not only enhances user experience but also helps store owners manage regional differences more efficiently.In this guide, we'll share the process of setting up the country/region selector with Inspired Themes.**Requirements for Enabling the Country/Region Selector**Before you proceed with enabling the country/region selector on your store, ensure that Shopify Payments is activated as a payment method.
**Step 1:** **Set up Shopify Payments**
* From your Shopify admin, go to **Settings** > **Payments**.
* Activate Shopify Payments in one of the following ways:
> - If you haven't set up a credit card payment provider on your account, then click **Complete account setup** in the **Shopify Payments** section.
> - If you have a different credit card payment provider enabled, then click **Activate Shopify Payments** in the **Shopify Payments** box, and then **Activate Shopify Payments** in the dialog. This removes any other credit card payment provider from your account.
* Enter the required details about your store. If you're eligible, then a Shopify Balance account is created for you. Otherwise, you're prompted to enter your banking information.
* Click **Save**.
**Step 2: For your country/region selector to function, your markets must be set up in your store:**
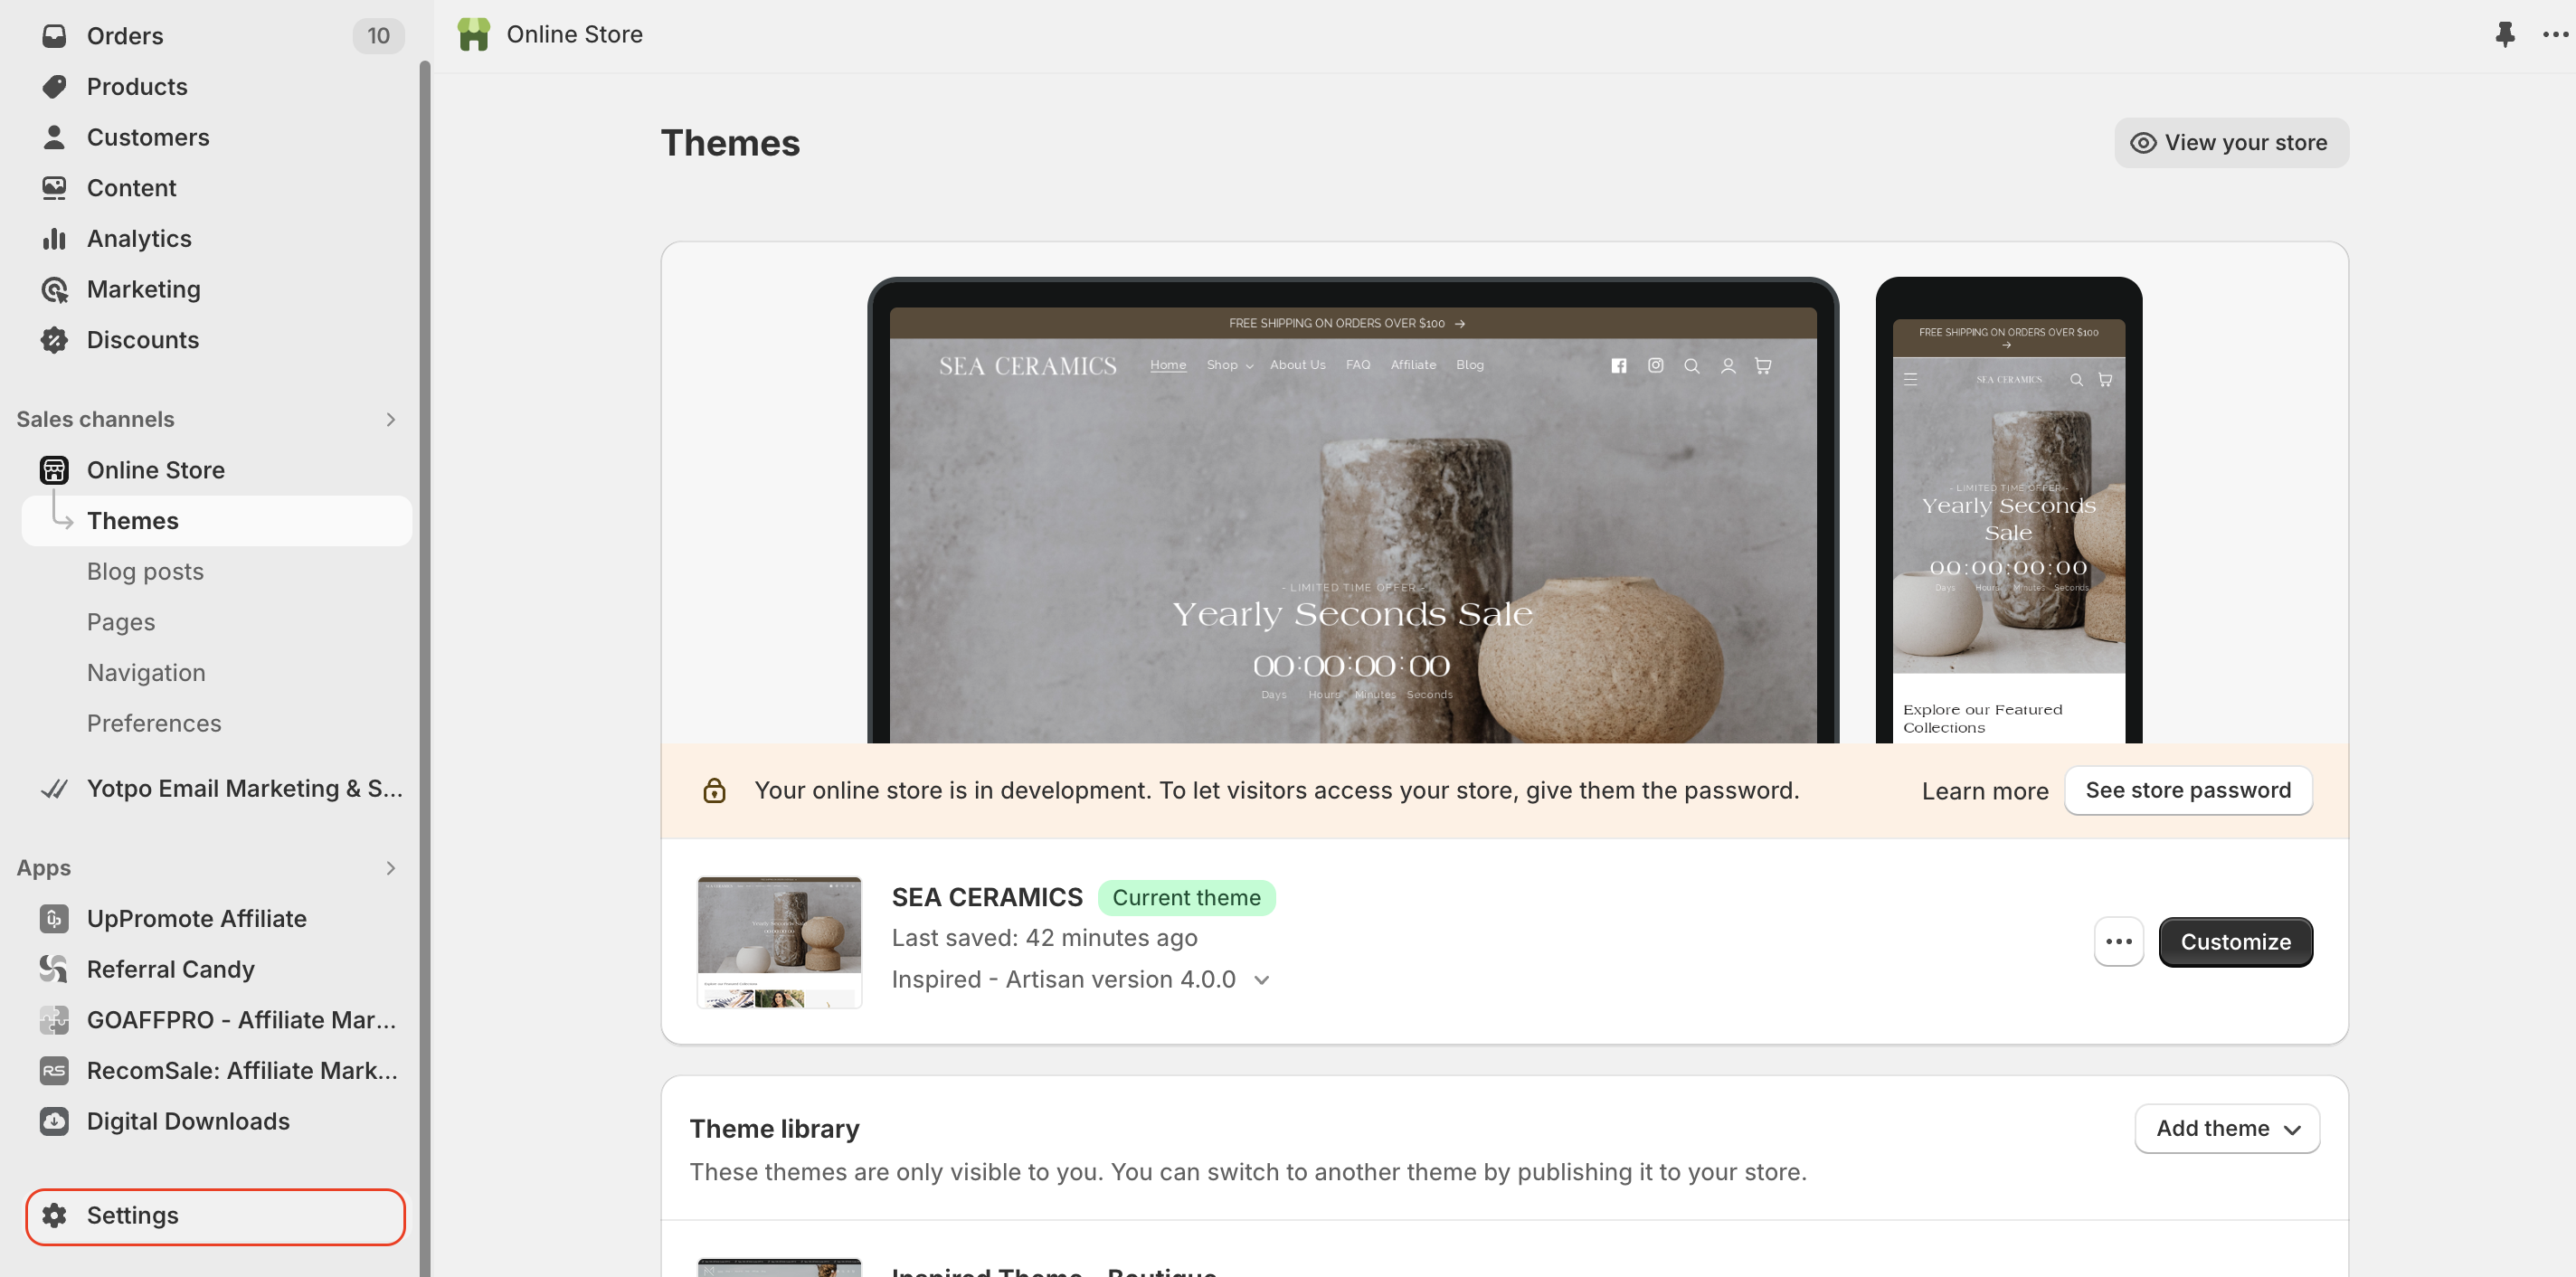
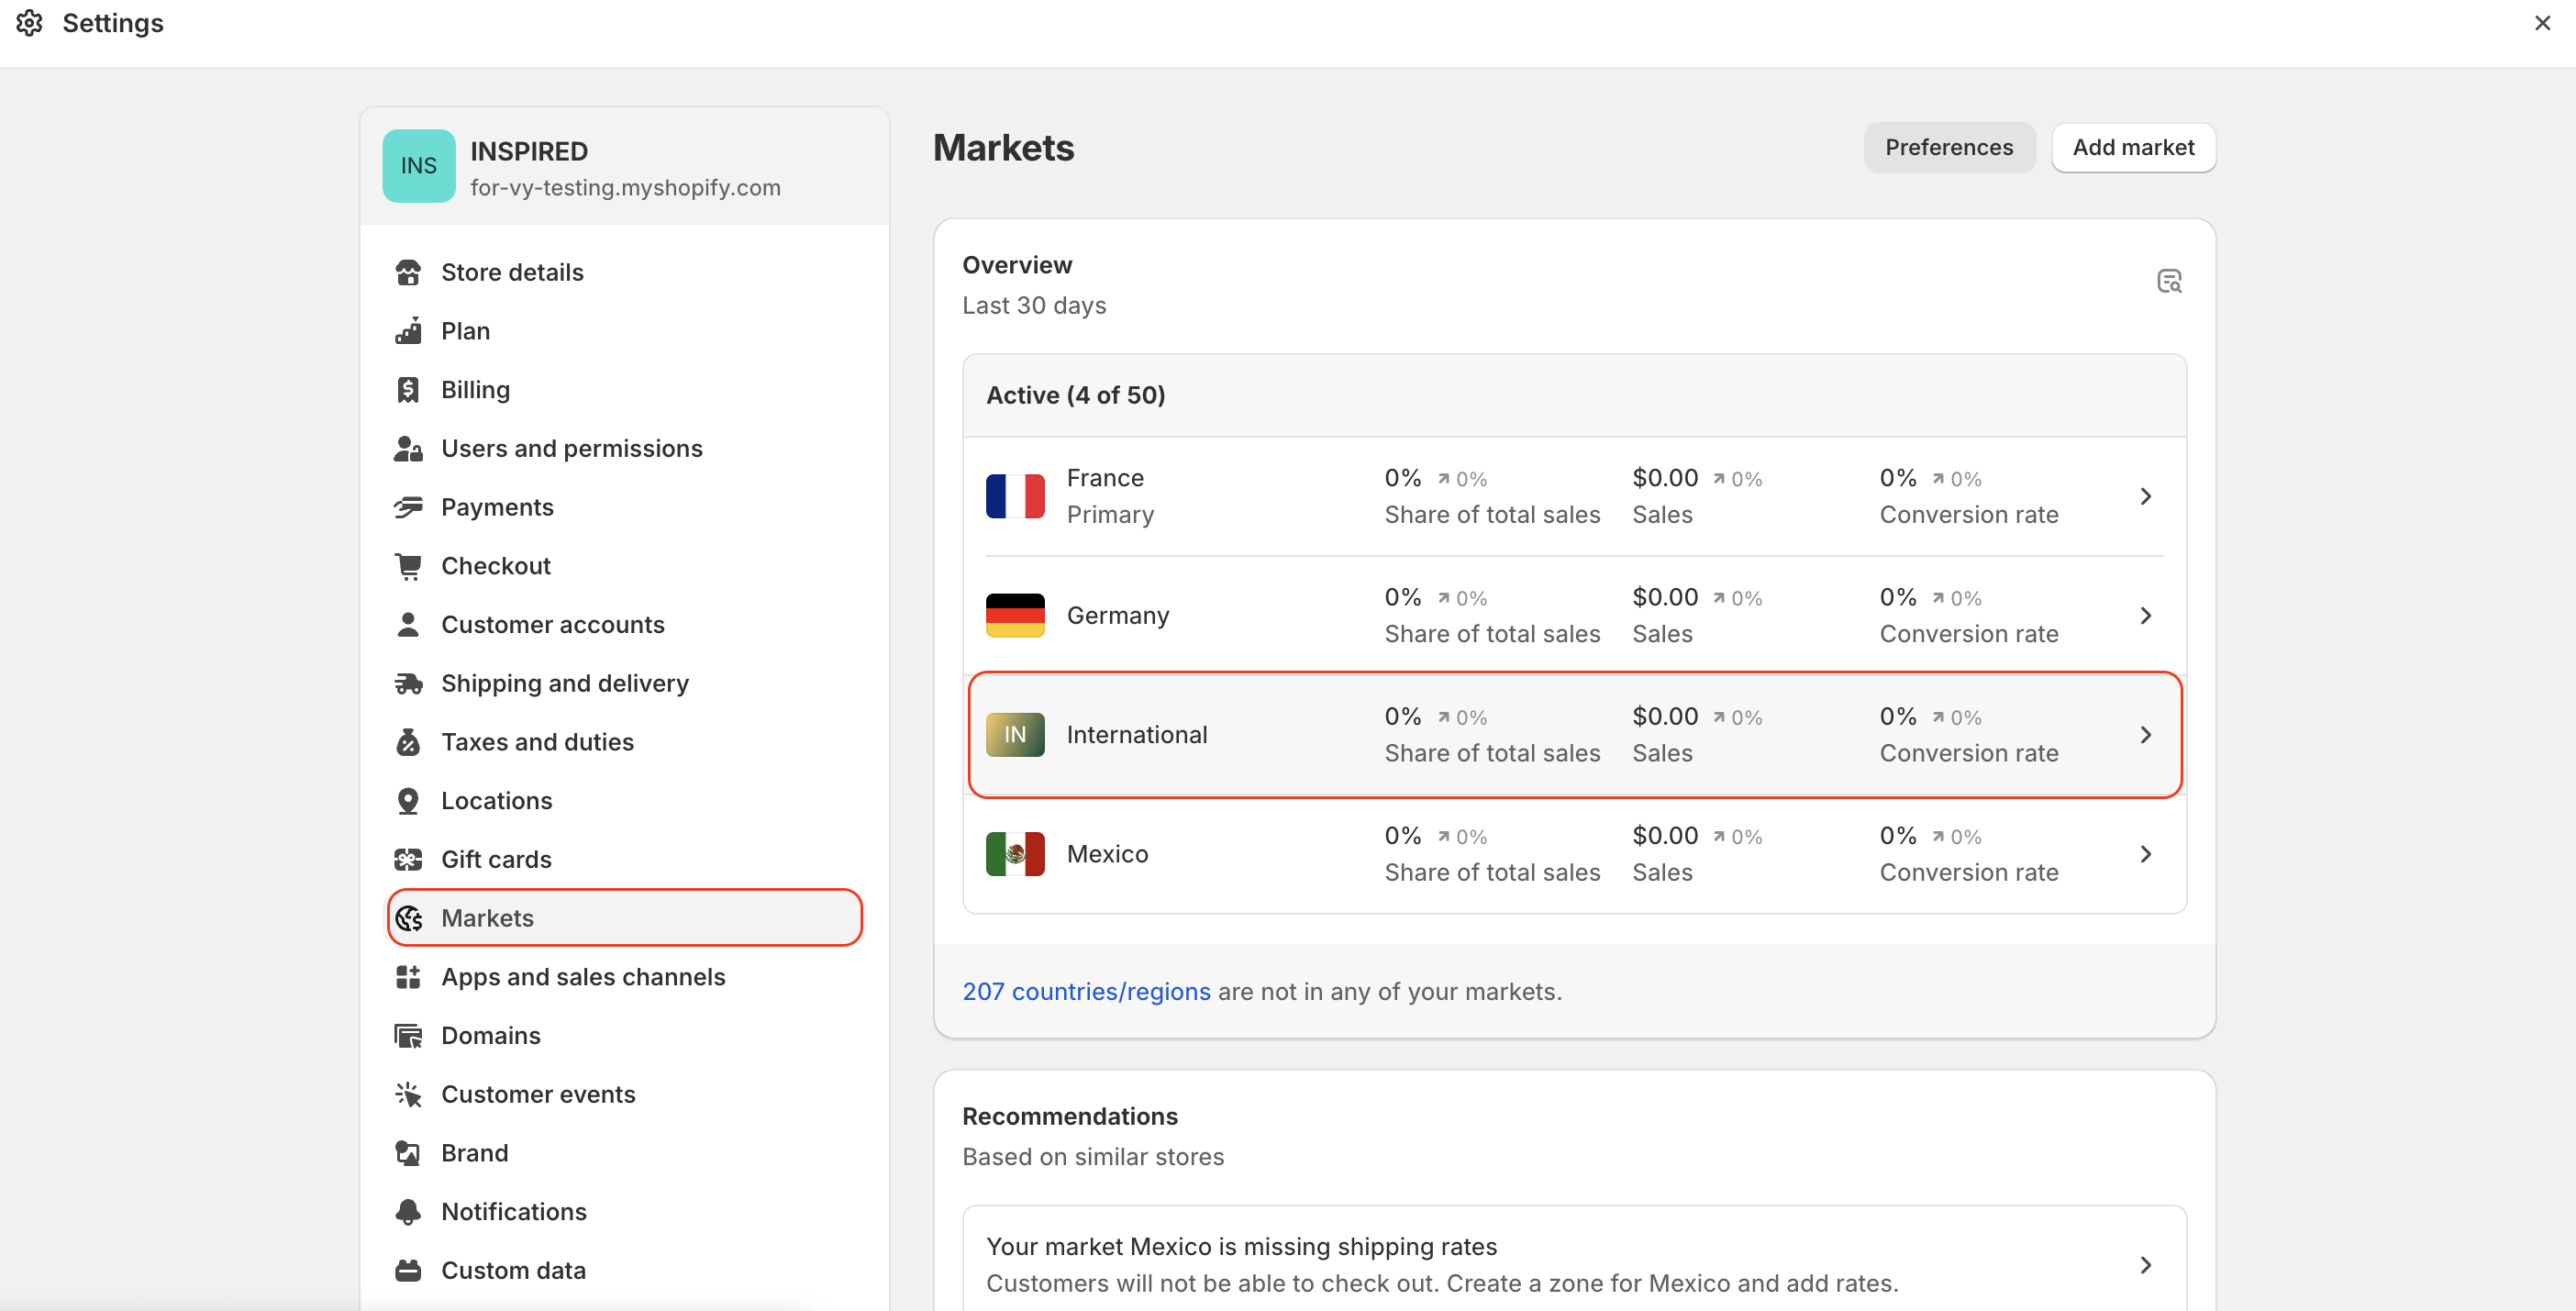
* From your Shopify admin, go to **Settings** > **Markets**
* Click the **International**
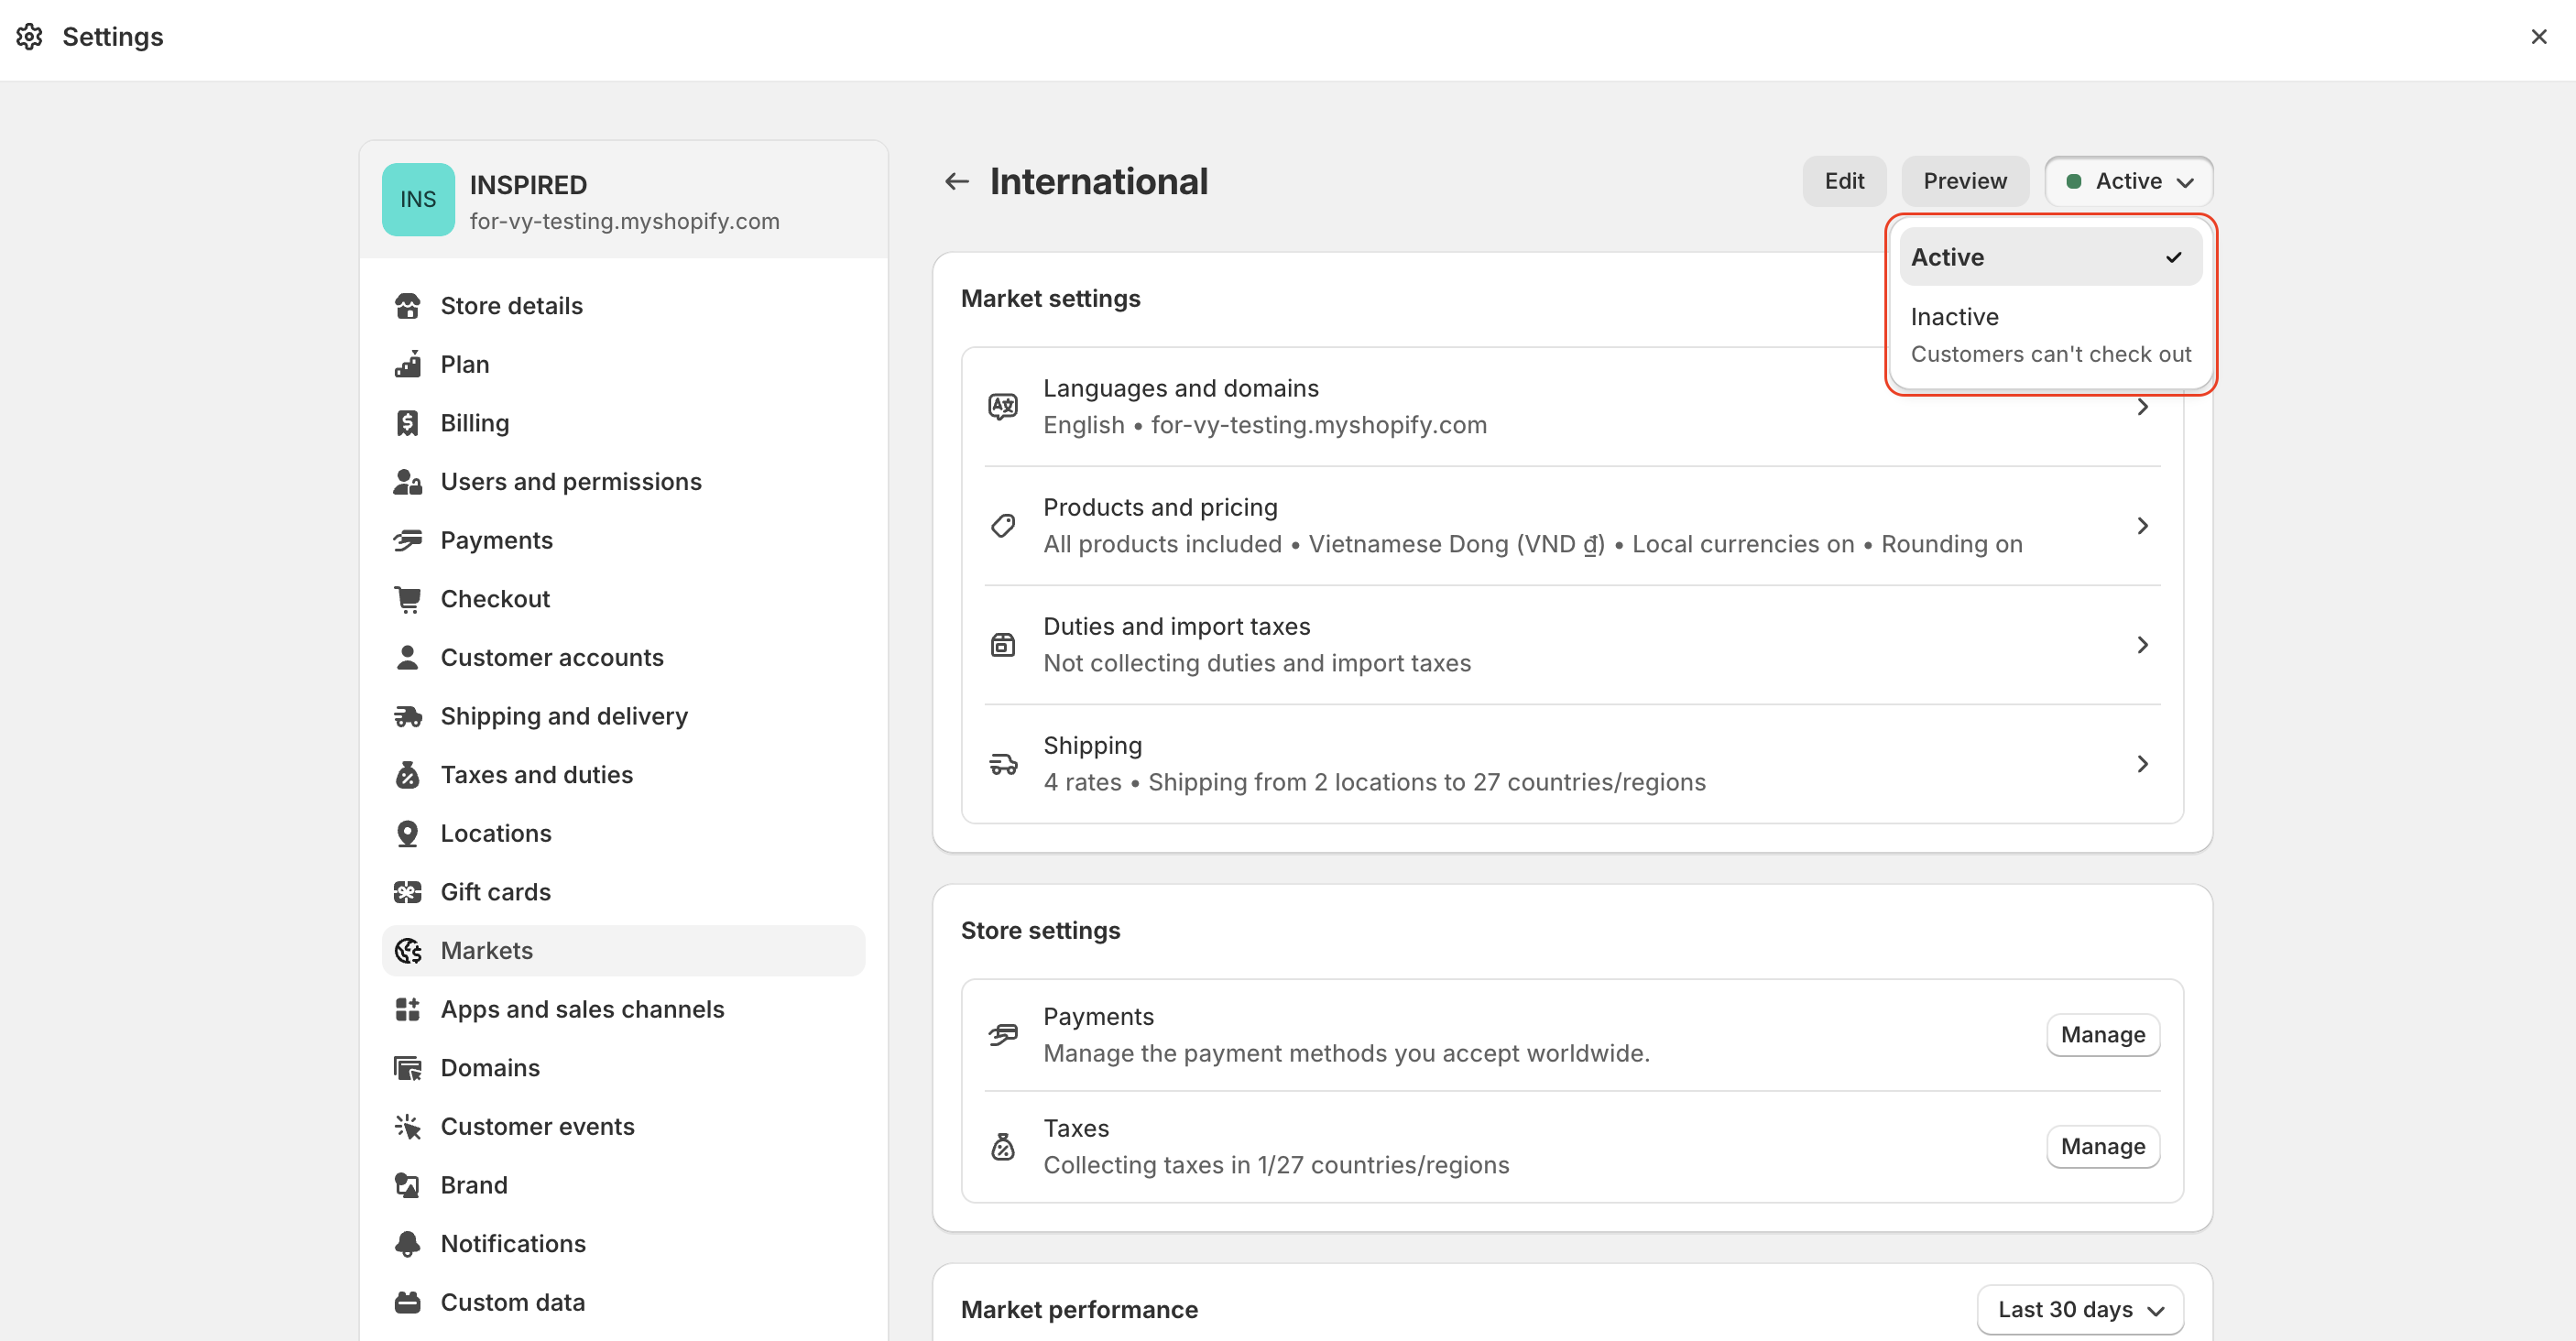
* Ensure the market is **Active.** Select the **Active** option in the top right corner.
* Click **Save**
When you have your markets set up, your customers will be able to view prices, pay for orders and receive refunds in their local currency. Prices are converted automatically, but you can set exchange rates manually.
**Step 3:** **In the Theme Editor, select your Footer section, then check the Enable country/region selector box.**
After you set up your markets with different languages and currencies, you also need to direct customers to their localized shopping experiences.
{% hint style="info" %}
[Geolocation](https://apps.shopify.com/geolocation) - This free app automatically integrates with Shopify Markets and lets you recommend the best country and language for your visitors based on their browser preferences and location. Your visitors can also change their country and language anytime with selectors, which work with any theme.
{% endhint %}
---
# Agent Instructions
This documentation is published with GitBook. GitBook is the documentation platform designed so that both humans and AI agents can read, navigate, and reason over technical content effectively. Learn more at gitbook.com.
## Querying This Documentation
If you need additional information that is not directly available in this page, you can query the documentation dynamically by asking a question.
Perform an HTTP GET request on the current page URL with the `ask` query parameter, and the optional `goal` query parameter:
```
GET https://help.inspiredtheme.com/articles/faqs/how-to-enable-the-country-region-selector.md?ask=&goal=
```
`ask` is the immediate question: it should be specific, self-contained, and written in natural language.
`goal` is optional and describes the broader end goal you are ultimately trying to accomplish on behalf of the user. GitBook uses it to tailor the answer towards what is most useful for that goal.
The response will contain a direct answer to the question and relevant excerpts and sources from the documentation.
Use this mechanism when the answer is not explicitly present in the current page, you need clarification or additional context, or you want to retrieve related documentation sections.