Help Center
Explore ThemesMade with InspiredThemeAbout UsContact
  • ABOUT INSPIREDTHEME
  • General theme settings
    • Available page types
  • UPDATES
    • Changelog
  • Getting started
    • What is Online Store 2.0 theme?
    • Before you customize your theme
      • Step 1: Duplicate your theme to create a backup copy
      • Step 2: Follow our suggestions for a better design experience
      • Step 3: Understand the level of support we provide
      • Step 4: Learn about the ideal Shopify image sizes
  • GENERAL INFORMATION
    • How to install theme
    • Try themes for free
    • Add products to store
    • Set up collections
    • Customize the theme
    • Navigation menus
  • SECTIONS
    • Sections available in Inspired Themes
      • Featured collection
      • Featured product
      • Collection list
      • Rich text
      • Image with text
      • Image banner
      • Slideshow
      • Collage
      • Multicolumn
      • Email signup
      • Contact form
      • Video
      • Blog posts
      • Custom Liquid
      • Page
      • Collapsible content
      • Video banner
  • HEADER
    • Announcement bar
    • Header
  • PRODUCT PAGES
    • Product information
      • Default product blocks
      • Text
      • Line item property
      • Inventory status
      • Collapsible tab
      • Custom liquid
      • Pop-up
      • Product rating
    • Product information section settings
    • Product recommendations
    • Creating product templates
  • COLLECTION PAGES
    • Collection banner
    • Product grid
    • Creating collection templates
  • PAGES
    • Page Templates
    • Creating page templates
    • Other pages
      • 404
      • Cart
      • Checkout
      • Search
      • Blog Posts
      • Blog
  • FOOTER
    • Footer blocks
    • Footer settings
  • THEME SETTINGS
    • InspiredTheme Settings Intro
      • Colors
      • Typography
      • Styles
      • Layout
      • Animation
      • Social media
      • Search input
      • Favicon
      • Currency format
  • FAQs
    • Customer account
    • Set up local pickup
    • Where do submission of Email signup forms go?
    • View contact form submissions
    • Restrict store access, remove password
    • Integrate apps into the theme
    • How to add or edit content store policies?
    • How to use Canva templates
    • How to create Gift Card Products
    • How to center the heading of sections?
    • How to enable the country/region selector?
  • SUPPORT
    • InspiredTheme Support
Powered by GitBook
On this page

Was this helpful?

  1. GENERAL INFORMATION

Add products to store

You can add a product such as its price, variants, and availability from the Products page in your Shopify admin.

Last updated 1 year ago

Was this helpful?


How to add a new product?

1. From your Shopify admin, go to Products.

2. From the Products page, click Add product.

3. Enter information for your product, with additional details.

The details that you provide for a product affect the way that the product is displayed to customers, make it easier for you to organize your products, and help customers find the product.

You need to provide:

  • Title - The name of your product that you want to display to your customers.

  • Description - The detailed description of your product.

  • Media - The images, 3D models, and video demonstrate to your customers what the product looks like.

  • Pricing:

Price
Compare-at price

The price that you're charging for the product. You can set the currency on the General settings page. Click Charge taxes on this product if the product is taxable.

The original price for a product that is on sale.

  • Inventory - The number of product

  • Shipping - This option is for a physical product that you ship.

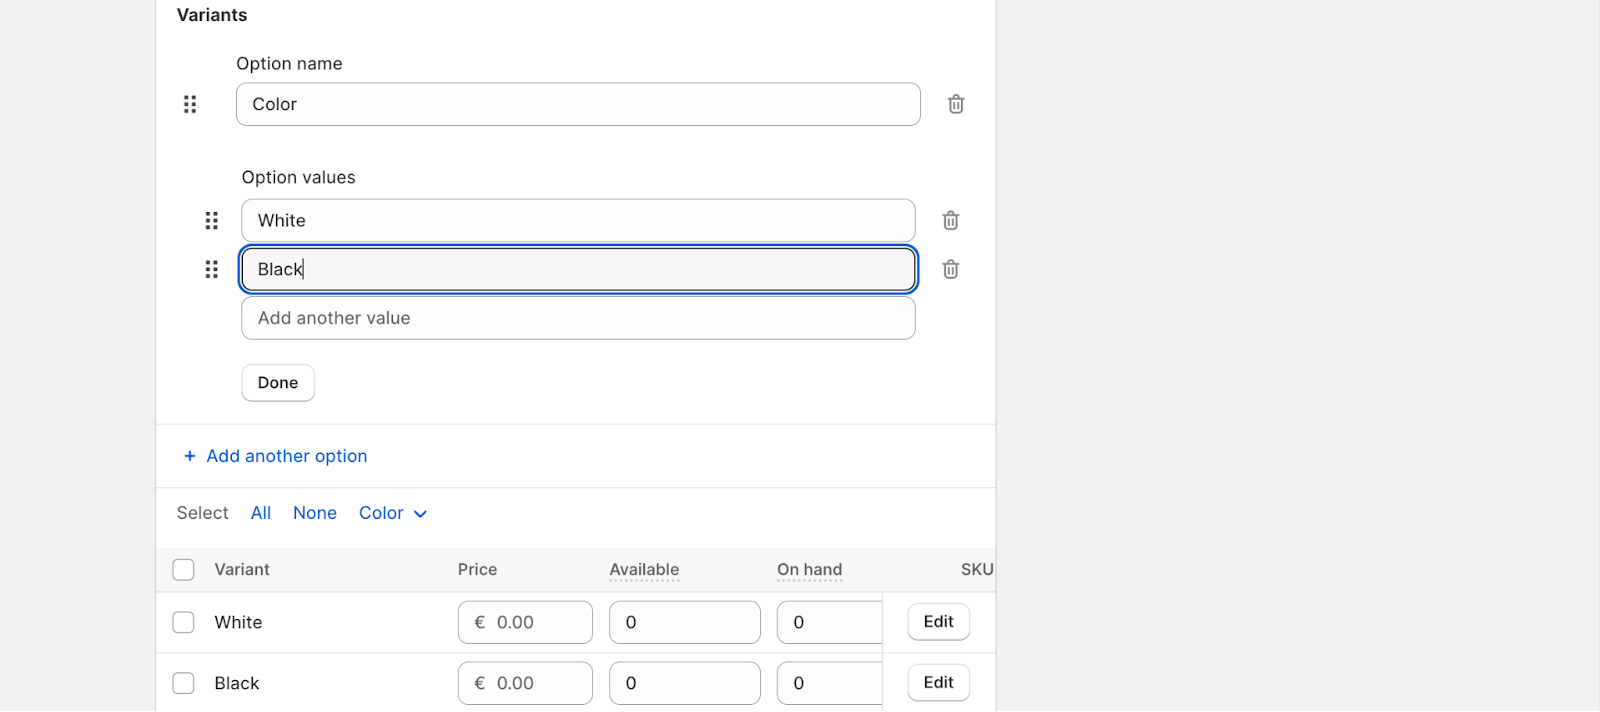
  • Variants - For a product that has variants, this section displays the options for the product, such as color and size. Each combination of option values for a product can be a variant of that product.

  • Status - If you no longer want to display a product in your online store, but you don’t want to permanently delete the product, then you can archive the product instead.

You can archive a single product, or archive multiple products at the same time using a bulk action. If you archive a product, then the product is moved to the Archived tab of the Products page.

To archive a product:

  • Click the product that you want to archive.

  • On the product details page, click Archive product.

  • Click Archive product.

  • Including and excluding products from your sales channels

You can control where you are selling a product by including it in your active sales channels. If you decide to exclude a product from a particular sales channel, then it will be hidden from that channel.

To view or change a product's publishing settings:

  • Click ⋮ > Manage sales channels.

  • Select the sales channels and apps that you want to include the product in.

  • Click Done.

4. Click Save.